Organizing events starts with making tickets – that make people eager to take action to buy them. And event tickets play a role that goes beyond their functional purpose. ?️?
From selecting the perfect event ticketing platform to curating a variety of ticket types, we’ll navigate each step with a blend of finesse and flair.
In this guide, we’ll talk about the process of crafting digital event tickets that will have your attendees counting down the days. ?
How to Make Event Tickets?
Event tickets have taken on a pixelated form, setting the stage for an engaging experience. Let’s explore the steps to make captivating digital event tickets.
1. Choose an event ticketing platform
Creating event tickets starts with choosing the event ticketing platform most suitable for your events.
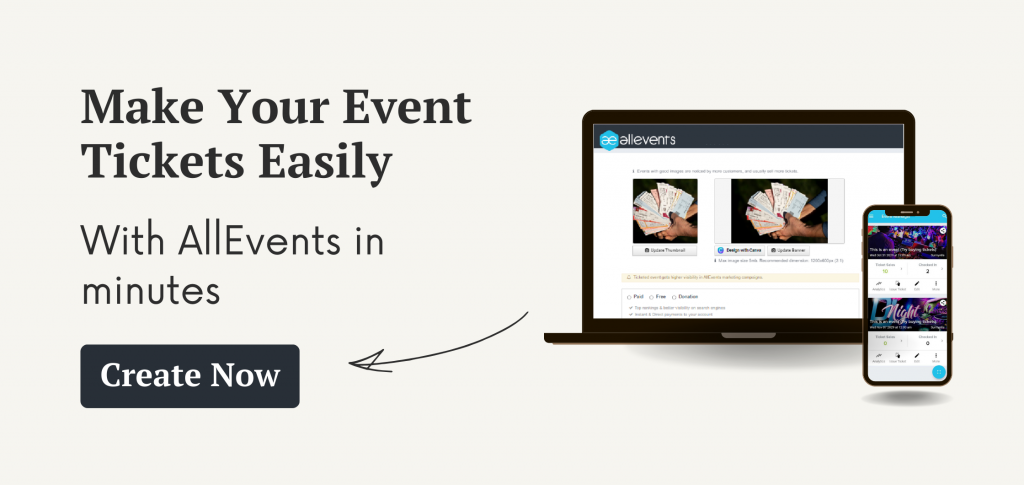
You may start by visiting AllEvents. If you’re not already a registered user, sign up for an account.
2. Event creation
Click on “Create Event” and unleash your creativity! ? Fill all the necessary information – event’s name, date, time, and location.
Craft an enticing event description that grabs attention and provides essential details. AllEvents provides an event description generator for exciting event descriptions for your attendees.
Upload eye-catching event images.
3. Create Diverse Ticket Types For Flexibility

Enhance attendee options by creating various ticket types. Whether it’s VIP experiences, early bird discounts, or general admission, click on “Add Ticket” to start crafting your unique ticket types.
For each ticket type, specify the price, quantity available, and any special perks that come with it. Whether it’s exclusive access or freebies, make it irresistible.
You can create various ticket types in just a minute with AllEvents. Get started today and see the difference for yourself!
4. Seamless Payment Gateway Integration
Making payment a breeze is crucial. Choose between PayPal and Stripe to integrate a payment gateway.
Provide your banking information and billing profile to enable online payments. Attendees appreciate a secure and hassle-free payment process.
Take your event planning to the next level with AllEvents ticketing options. Easily sell tickets using secure payment processing through Stripe or PayPal. And guess what? You get your payments immediately in your PayPal or Stripe account, no waiting is needed!

6. Preview and Publish
With all your event details and tickets set, review everything. Once you’re satisfied, hit that “Publish” button.
Your event is now live, and attendees can start purchasing tickets!
7. Track Ticket Sales and Engagement
Monitor ticket sales and engagement. This gives you valuable insights into how your event is doing.
If you’re considering physical event tickets, here’s a simple guide to help you through the process:
Step 1: Choose a Design Approach
Decide on the look and feel of your event tickets. Consider incorporating your event’s theme, colors, and logo to make them visually appealing and aligned with your branding.
Step 2: Add all the important information on Tickets
Make a list of all the essential details that need to be included on the tickets. This typically includes the event name, date, time, venue, and any special instructions.
Step 3: Select a template or create your own
You have a few options here. You can use pre-designed ticket templates available online, customize them to match your event’s style or create your own design from scratch using Vistacreate or Snappa.
Step 4: Include Ticket Numbers
Assign unique ticket numbers to each ticket. This helps in tracking and adds a professional touch to your event.
Step 5: Printing Options
Decide whether you’ll print the tickets yourself or use a professional printing service. Ensure the print quality is good and the tickets are easy to read.
Step 6: Proofreading
Before finalizing the design, double-check all the information for accuracy. Typos and errors can be a turnoff for attendees.
Step 7: Test Printing
If you’re printing the tickets yourself, do a test print to ensure everything looks as intended, including colors and alignment.
Step 8: Print and Distribute
Print the desired number of tickets once you’re satisfied with the design. Distribute them as needed, whether through physical mail or at pre-event gatherings.
With careful attention to detail, you’ll have beautifully designed tickets that attendees will be excited to hold onto.
Tips for creating event tickets

Creating event tickets is easy! Use these straightforward tips to make your tickets shine:
1. Know Your Crowd: Understand what your audience likes.
2. Offer Choices: Have different ticket options available.
3. Clear Info: Explain if it includes any special things, like access to certain areas or cool perks.
4. Create Urgency: Use limited-time offers for excitement.
5. Bundle Deals: For example, you could offer a ticket with a free t-shirt or a chance to meet a special guest.
6. Show Benefits: Highlight perks like great seats.
7. Early Bird Deals: Start with discounted tickets.
8. Rewards: Thank loyal attendees with special offers.
9. Social Teasers: Tease tickets on social media.
10. Work Together: Partner for combined ticket deals.
11. Check Sales: Keep an eye on ticket sales.
12. Quick Help: Offer fast support for ticket questions.
13. Add Personal Touch: Let attendees personalize their tickets.
Conclusion
Creating event tickets isn’t just about admission – it’s about building anticipation for an incredible experience. Whether digital or physical, each ticket is a key to unlocking remarkable memories.
“Those who don’t believe in magic will never find it.” Your event tickets are your way of sharing that magic with your attendees. They hold the promise of something wonderful, beginning with your careful crafting. ?✨
Quick Answers
How can I create digital event tickets?
To create digital event tickets, choose an event ticketing platform like AllEvents. Add event details, create diverse ticket types, design tickets with your logo and graphics, set up a payment gateway, and preview before publishing.
What are some examples of ticket types I can offer?
You can offer various ticket types such as “Early Bird” specials, “VIP Passes,” “General Admission,” “Group Tickets,” and more to cater to different preferences.
How can I create different ticket types using the desktop website?
First, log in to your AllEvents account and access the event dashboard. Navigate to “Registrations,” then “Issue Tickets Dropdown,” and click “Manage Tickets.” Choose the event and click on “Manage Ticket Types.” To add a new ticket type, complete the form with details and click “Save.”
What payment options are available for event tickets?
You can link your PayPal or Stripe account for secure online payments. If your currency isn’t supported, you can manually set tickets for “pay at venue” mode and mark attendees as paid.
How can I make my event tickets more engaging?
Use catchy names for ticket types, provide clear information about each ticket, offer limited-time deals for urgency, highlight benefits like great seats, and consider bundling tickets with extras for added value.
How can I track ticket sales and engagement?
The AllEvents Event Manager App helps you monitor total event page visits, the number of attendees, ticket sales, and revenue generated, all in one place.
What’s the significance of creating different ticket types?
Offering diverse ticket types caters to various preferences and needs of your audience, enhancing their overall event experience.
Can I personalize event tickets for attendees?
Yes, you can let attendees personalize their tickets, adding a personal touch to their event experience.
How can I ensure a smooth check-in process for attendees?
Consider using digital tickets synced with event apps to simplify check-in, reducing the need for paper tickets and long queues.
Why are event tickets important for an event?
Event tickets grant admission and build anticipation and excitement for the event, creating a memorable experience for attendees.